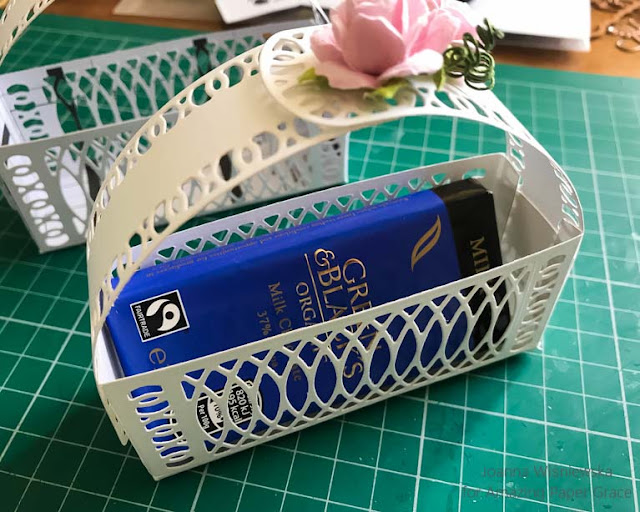
Today I would like to show how I made a filigree basket using March Die of the Month. I shoed the card and the basket in this post - click.
I die cut the oval with two decorative inserts and I also die cut twice the label.
I have my scoring board marked with a pencil along the 6''. The pencil like helps me to align the element for scorning. I aligned at 6'' mark the die cut element and then move forward by 1/8'' and scored. I aligned with the inside of the decorative inlaid die cut.
Here you can see a pencil mark. I have done it along the full length of scoring board.
I have done the same on each side. I have now the base scored at equal distance (1/8'') from the inlaid decorative die cut.
Then I trimmed off with scissors the sides (at four corners) to create flaps.
Here how it looks when flaps are folded up and glued together.
Two labels I used to create a handle for the basket.
Two labels are meeting at the top.
Thank you for stopping by.
Joanna


Cudny ten koszyczek :)
ReplyDeletePrześliczny koszyczek :)
ReplyDelete