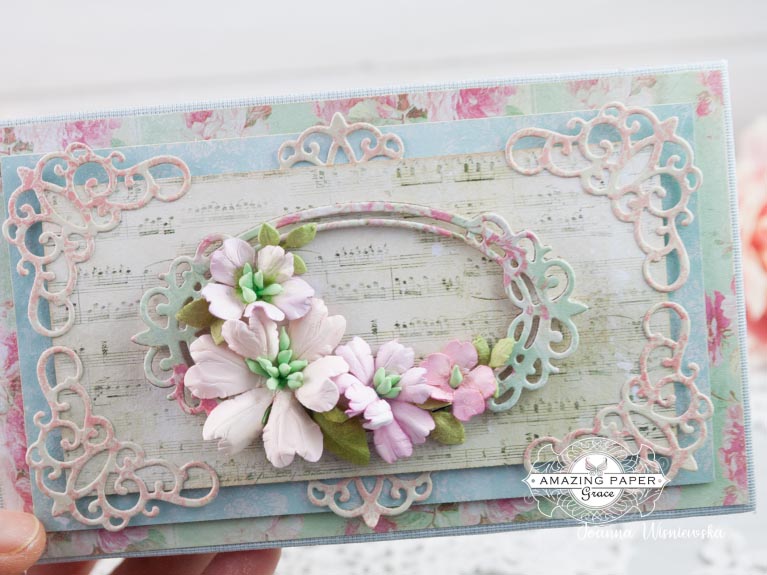
Today I would like to share another mini album that I created using Spellbinders S5-409 - Universal Accordion Fold Spine.
The album is 9'' by 6'' (approx. 23cm by 15.5cm). The spine is 9'' by 2-1/4'' (approx. 23cm by 6cm).
In my mini album I placed lots of pictures from our two trips to Hall Place where are flower and vegetables gardens, large park and Butterfly Jungles and Jambs Owls.

The front cover I decorated with my handmade flowers. The rose is from Spellbinders S4-1025 - Sweet Cottage Flowers from a new collection. The other flowers are selection of Chinch and Go Flowers by Becca Feeken, Spellbinders.

At the bottom of this post I added some pictures to explain how I created the spine for this mini album using Universal Accordion Fold Spine.
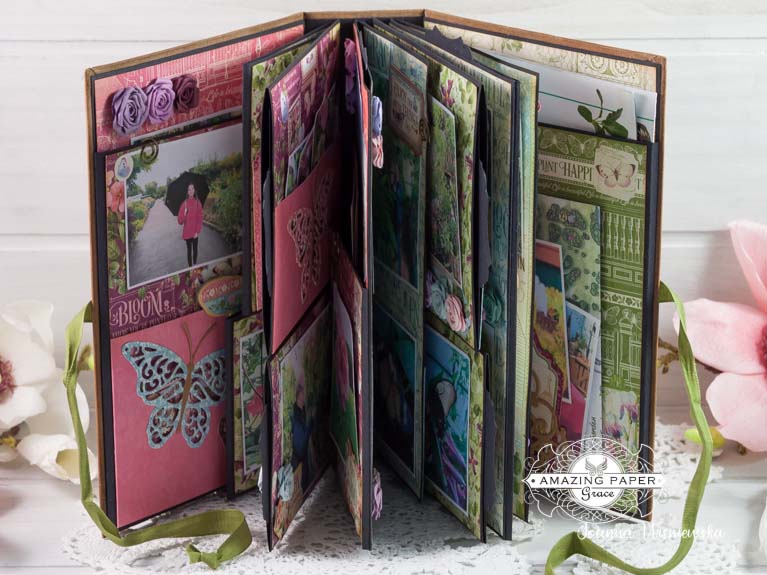
The on page pockets, in this mini album, I decorated with butterflies that I inlaid die cut. My butterflies are Spellbinders S4-987 - Flutter Wing Shadowbox Butterflies. To created a pocket that way I die cut first Body of a butterfly in a pocket and the I glued the pocket on page. Then I die cut a body together with Wings and placed (glued) over the inlaid Body.

There are in the mini four pages. Two pages are pocket style pages and two are floating pages. I took an advantage of the way I prepared the Universal Spine to create floating pages (split pages). I have explained what I have done at the bottom of this post.

When I placed the Universal Spine I left 1/3'' space where the front and back covers are so that I could created multi folded on cover pages to keep more pictures (they need a bit more space).

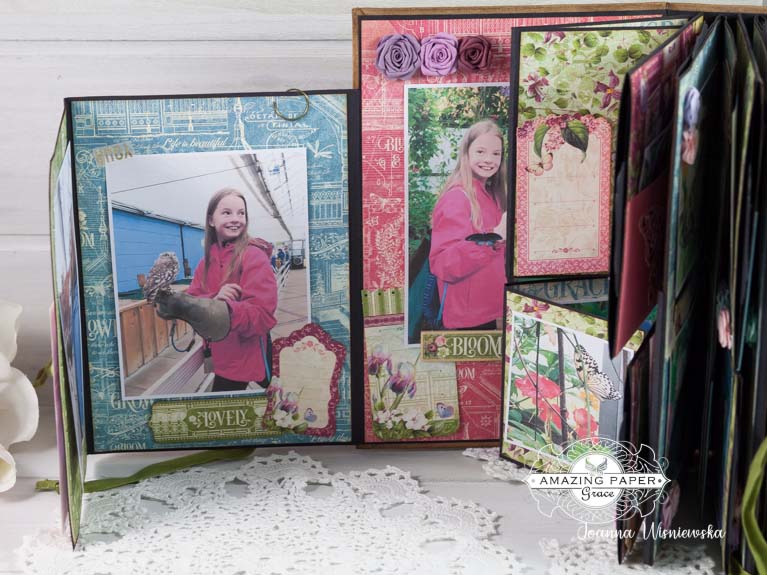
Here is the first split page (floating pages). Each floating page has a photo mat inside. There are in total six photo mats, four inside floating pages and two inside pockets style pages.

Here inside the fold out I placed a small corner from Spellbinders S4-1033 - Woven Trellis Corners.

Here are my photo mats. Each mat has a tag to pull out. To create a pull out tag I used a label from Spellbinders S4-789 - Francesca Labels. It can be any label. I have explained how I prepared the label for a photo mat at the end of this post.


Here inside another small corner from Spellbinders S4-1033 - Woven Trellis Corners.

There are, at the top of my two pocket style pages, two photo mats.

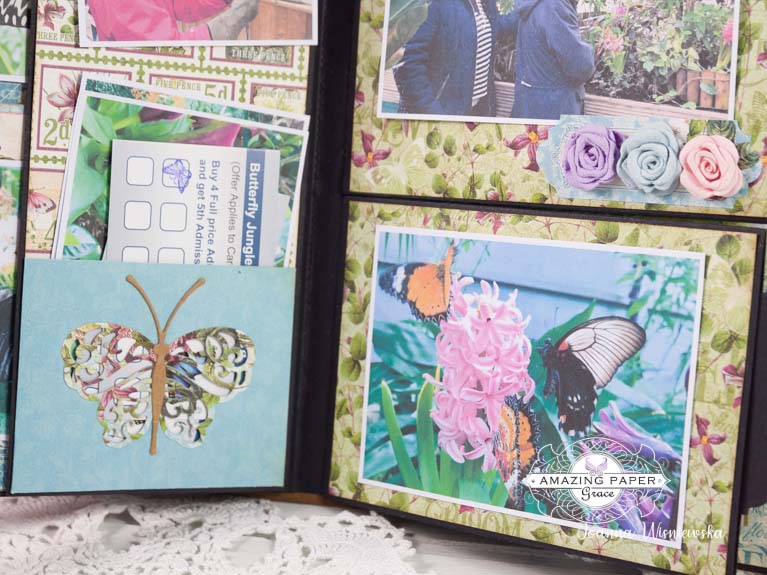
There are, in a small pocket with a Flutter Wing butterfly, some memorabilia.

The second split pocket (floating pages).
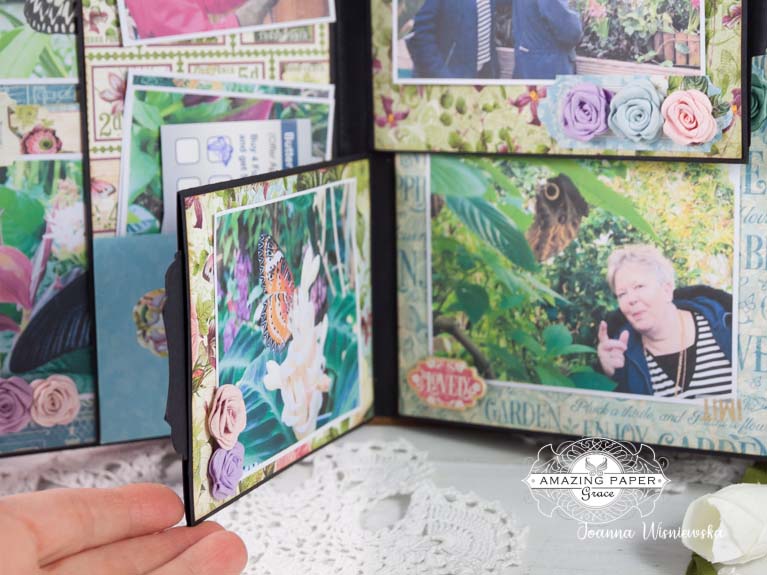
Large Flutter Wing butterfly on a pocket on one of the floating pages. You can see the picture of sunflowers through the butterfly.

I just wanted to show how many folded pages I created in this mini album ;-)


This is the inside of the large fold out.


This is a large corner from Spellbinders S4-1028 - Woven Trellis Side Pocket. This large pocket is here twice. Once on the first fold out on this page where it holds the Hall Place garden map and some pictures. And again under this fold out it holds the Tropical Butterfly map.

Here it is again.


And two more pictures of the entire mini album.


******
oI would like to show on pictures how I prepared the Universal Accordion Fold Spine for my mini album.
oI would like to show on pictures how I prepared the Universal Accordion Fold Spine for my mini album.
I die cut twice the Universal Spine.

I folded and glued both pieces like on the picture below, I folded and glued underneath both side flaps.

On the both outside ends only (not on the sides where the spines meet) I snipped the corners of the folds. It helps to place pockets style pages on them.

The below picture shows the middle of the spine where the two pieces of the Universal Spine will meet on the cover spine. To create floating pages (split page) I need two of the folds to be separated so I just snipped the corners off to allow easy placement of a pocket style page (gluing it down).
The other two rows I left without snipping the corners as I attached the pages on the entire length of the spine.

First I glued down the first full length Universal Spine (I lined it up with the top of my cover spine).
Then I measured how long I need the second piece to be and trimmed it. Then I lined up with the first piece and glued down.

Here is the picture that shows the mini album cover ready for adhering two split pocket style pages (floating pages) and two 'normal' pocket style pages.

On this two pictures I just wanted to show how I created a pull tag using a decorative label.
Just cut it in a half. Kept two pieces together so they will match while gluing.

To glued them together I place a photo mat on my cutting mat so I knew where is a middle of a photo mat. Then I have turned around a matt and glued the second piece.


For my mini album I used Bloom by Graphic45 paper collection.
Thank you so much for stopping by.
Dziekuje bardzo za odwiedziny.
Joanna