

We all love interactive and kinetic cards! Introducing the Christmas Cascade Collection!
This holiday collection allows you to make a Cascading Card inside of a Shadowbox Frame, mounted on a card base or unmounted. Don't worry, these motifs make great conventional cards as well.
We listened to you, and we heard loud and clear that our community loves dynamic and purposeful cards. In previous collections we gave you 3D Vignettes in a Christmas way. Now we've found a way to merge a Collection favorite, Shadowbox Vignettes, in a new format.
Becca Feeken with Amazing Paper Grace sent me these lovely dies to start my Christmas Card making!
Hi there, today our Creative Team is sharing our makes from the Christmas Cascade Collection. Let's take a second to sort this out...
What's a Christmas Cascade?
Amazing Paper Grace takes a spin on Christmas by building a new collection around something you already have in your stash - the Shadowbox Dies. Becca loves building upon what you already have and making it new again.
Christmas Cascade is made up of sets of 3" motif dies where each set has 3 motifs. That's enough for each leaf of your waterfall but again, you could make them the center of your A2 or your A7 card. These, paired with the Waterfall base will allow you to use any dies to make your next Waterfall Card.
The Inspiration behind Christmas Cascade
The inspiration for Christmas Cascade was to produce a motif to use from an enclosure card all the way up to full A7 card with background layers. This "cardlet" size has been a favorite in our stash because the elements can easily transition into all of the Amazing Paper Grace Collections and to all size cards. Hint: This is not the last time you will see "Cardlets"
Each of our Creative Team members will show you how to make a Christmas Cascade Card that is a waterfall card and a Christmas Cascade Card that is a flat card.
My Projects For Today
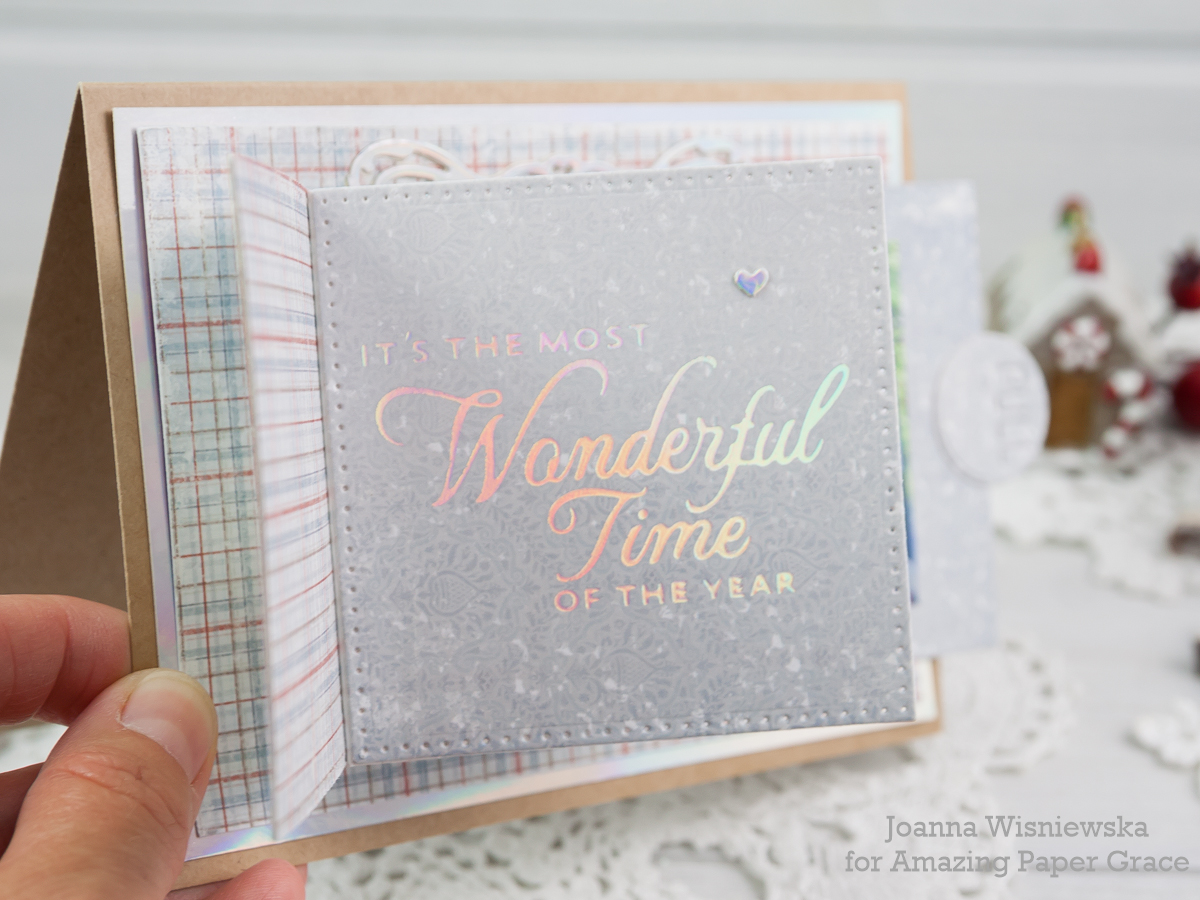
First up is my Waterfall Card using Spellbinders S6-166 - Christmas Cascade Base and Spellbinders GLP-194 - Elegant Holiday Glimmer Sentiments.


Second up is my Flat Card using Spellbinders S5-429 - Snowflake Splendor.


Third up is my Waterfall Card inside the Shadowbox Frame.


Here is the Spellbinders video showing amazing new samples as well as a tutorial showing you how to put the Cascade Card together:
How to Assemble the Shadowbox Frame Video:
Christmas Cascade Availability:
These dies and plates are available from Spellbinders right now! Click here: Amazing Paper Grace Cascading Christmas.
Christmas Cascade Inspiration Hop!
Click on the links to each member to be inspired across a broad range of talent:
Giveaway!
You could win an Amazing Paper Grace Die of the Month! Enter to win on our new Instagram Account https://www.instagram.com/amazingpapergrace_creates/. All the entry details are there, look for this image below:

I love your comments! Do you like creating cards with pictures of your family and friends?
Hugs,
Joanna


Each and everyone of your creations is just amazing. Thank you for sharing.
ReplyDeleteTHANK YOU for the step-by-step pictures of the creation process. All the cards are stunning and I love using colors different than the typical Red/Green combo. The red/white look really looks festive and wintery!
ReplyDeleteFantastyczne i oryginalne prace :)
ReplyDeleteThese are all beautiful. Please tell me the dimensions of the 1st card. I want to make just an A2. Thank you. [Bunny]
ReplyDeleteThank you, Bunny.
DeleteThe first card is a standard UK card size that is made using our/UK A4 size card. It measure 15cm by 10.5cm.
Joanna
All the projects are so beautiful love the waterfall cards, will have to give this a try
ReplyDeleteWonderful project, Joanna! 😍 Thanks for the tutorial, I love this shape of waterfall!
ReplyDeleteFantastyczne prace :)
ReplyDeleteGreat die to have.
ReplyDeleteBeautiful papers - beautiful projects!
ReplyDeletePerfect timing for making our Christmas presents for this year!! Yours are so adorable and loving the sweet baby pic especially!!
ReplyDeleteThank you so much for your kind comments :-)
ReplyDeletePrzepiękne prace, bardzo wyjątkowe :)
ReplyDelete